1. Finished resist-dyed samples.
 On November 8, I took a one-day workshop, called True Blue, with Elin Noble, as part of A Quilter's Gathering 2010. We used freeze-dried, pre-reduced, indigo to dye samples of shaped-resist techniques. I had taken one previous dyeing class with another excellent teacher, Carol Anne Grotrian, so had a basic introduction to some of the techniques.

2. Kumo, or spiderweb, pattern.
Nine inch squares of fabric tied with nylon kite twine.
Nine inch squares of fabric tied with nylon kite twine.

3. Left, fabric sample with rubber bands around dried beans.
Right, dyed fabric.
 4. Our class sampler.
Left, top and bottom, maki-nui pattern, chevron stripes.
Right, top, mokume or wood-grain pattern.
Right, bottom, karamatsu or larch tree pattern.
For all the stitching, we used synthetic upholstery thread, which Elin supplied in big cones, and which worked much better than the buttonhole thread I used for some of my home-made samples. To stitch, I used a Roxanne brand basting needle. The thread is worked doubled, knotted at the beginning of a row, and at the end of the row a tail of two to three inches is left, for cinching up when all the stitching is done. Here's how-to:
 5. Mokume pattern.
For the mokume pattern, draw parallel lines 1/4" apart. I like to use my 304 Berol drawing pencil with the soft lead. With the needle, make big running stitches. To get the wavy look, avoid aligning stitches vertically - the stitches should be offset, like bricks.
 6. Maki-nui pattern.
 7. Maki nui pattern.
It would have been better if I'd gathered up a
beefier hunk of fabric with every stitch.
My pattern came out even, but too subtle.
At least this pic shows the basic stitch pattern.
For the maki-nui pattern, the cloth is folded. Along the fold, and through both layers, insert the needle. Bring the point of needle back over the fold, wrapping the fold with the thread. Insert the needle again through both layers and wrap again. It doesn't matter if you wrap clock-wise or counter-clock wise, just be consistent. Elin loads up her needle with as many stitches as possible, allowing the stitches to fall off the eye end of the needle. I think this is to maintain a consistent rhythm when stitching, for a more regular pattern.
 8. Larch pattern.
Finally, for the larch pattern, the third pattern of our sampler, we fold the fabric and draw three concentric circles to stitch. Starting with the bottom circle, the stitches are made through the two layers of fabric. Threads are carried between motifs; no need to tie off for every pattern. This pattern can also be modified to be a more diamond shape; just stitch angles instead of circles.
 9. My dyed sampler. From the top, the patterns are: mokume pattern, maki nui (too timidly stitched) and the circular larch pattern on the bottom.
Elin gave us a helpful hand-out with diagrams for these patterns; Yoshiko Wada's book Shibori The Inventive Art of Japanese Shaped Resist Dyeing also has good illustrated instructions.
 10. A cone of upholstery thread.
 13. Classmate Lois, with her excellent sampler of patterns.
Right, dyed fabric.
I prepared a few samples in advance at home, using Prepared For Dyeing (PFD) fabric made by Kaufman, and a variety of household objects. In addition to learning about preparing an indigo dye vat, of course, I also learned some new shibori patterns in the workshop and picked up useful tips.

Left, top and bottom, maki-nui pattern, chevron stripes.
Right, top, mokume or wood-grain pattern.
Right, bottom, karamatsu or larch tree pattern.
For all the stitching, we used synthetic upholstery thread, which Elin supplied in big cones, and which worked much better than the buttonhole thread I used for some of my home-made samples. To stitch, I used a Roxanne brand basting needle. The thread is worked doubled, knotted at the beginning of a row, and at the end of the row a tail of two to three inches is left, for cinching up when all the stitching is done. Here's how-to:
 5. Mokume pattern.
 For the mokume pattern, draw parallel lines 1/4" apart. I like to use my 304 Berol drawing pencil with the soft lead. With the needle, make big running stitches. To get the wavy look, avoid aligning stitches vertically - the stitches should be offset, like bricks.
 6. Maki-nui pattern.
 7. Maki nui pattern.
It would have been better if I'd gathered up a
beefier hunk of fabric with every stitch.
My pattern came out even, but too subtle.
At least this pic shows the basic stitch pattern.
 8. Larch pattern.
 Finally, for the larch pattern, the third pattern of our sampler, we fold the fabric and draw three concentric circles to stitch. Starting with the bottom circle, the stitches are made through the two layers of fabric. Threads are carried between motifs; no need to tie off for every pattern. This pattern can also be modified to be a more diamond shape; just stitch angles instead of circles.
 9. My dyed sampler. From the top, the patterns are: mokume pattern, maki nui (too timidly stitched) and the circular larch pattern on the bottom.
Elin gave us a helpful hand-out with diagrams for these patterns; Yoshiko Wada's book Shibori The Inventive Art of Japanese Shaped Resist Dyeing also has good illustrated instructions.
 10. A cone of upholstery thread.
After stitching is complete, the threads are pulled taut and tied off using a square knot (surgeon's knot, whatever, just make sure it's secure, but tidy). When pulling the threads taut, Elin works on the piece as a whole, pulling all threads partially taut first. Spraying with water helps the fabric fold and compress. When all threads have been cinched up part way, she pulls them as tight as possible and ties them off.
For items with many, many threads, Elin will sometimes count the threads, so she can make sure she's pulled them all, as a loose thread will ruin the pattern. Also, for heavily stitched patterns, such as mokume, where there may be hundreds of thread ends, she'll tie the threads in bundles of four, just to save a bit of time. Finally, after tying off Elin does not snip close to the knot, but leaves at least two to three inches of thread dangling, for ease when it's time to remove the stitching after dyeing is complete.
 11. One of my stitched patterns.
Left, stitched but not cinched and knotted.
Right, thread pulled tight and tied off.
 12. A professional sample from Japan,
densely stitched and knotted.
 13. Classmate Lois, with her excellent sampler of patterns.
When all our fabric samples were stitched, cinched and knotted, we prepared our indigo vats and dyed the cloth. The samples emerged and were very impressive. For more on the vat, see the companion blog entry The Vat. Of course, it was impossible to resist opening up our samplers and seeing the results. Elin mentioned that she often begins her patterning a bit away from the edge, as she finds the marginal zones - between the pattern and the edge of the fabric - often have visually interesting outcomes. This is often true of life, isn't it? Some of the most intriguing things go on in the margins, if you're observant enough to see them.

14. Samples made by, or collected by, Elin Noble.
For inspiration, Elin had kindly brought many samples to class, of her own work but also pieces she has collected from both Asia and Africa. Because there are often needle holes, and even bits of thread remaining, is it possible to do forensic stitching analysis and determine how the pattern was made.
As stitched patterns are only part of the repertoire - and the stitching process is relatively tedious - Elin also shared other techniques with us, including pole wrapping and clamping.
As stitched patterns are only part of the repertoire - and the stitching process is relatively tedious - Elin also shared other techniques with us, including pole wrapping and clamping.
 15. Elin initially ties the upholstery thread to the pole.
Many of us, including me, had brought PVC pipe, used for plumbing, to the class. During lunch, I had wrapped a long strip of fabric around my 2 1/2" diameter pole diagonally, wrapped it with thread and bunched the fabric down to the end of the pole, as I learned in my previous shibori class. I thought I was ahead of the game.
However, after lunch Elin shared with us more of the characteristics that differentiate this indigo dye from synthetic MX dyes. Evidently, the indigo doesn't penetrate the layers as well as the synthetic dyes. Now she tells me! The solution is evident - wrap only one layer of fabric and use a wide diameter pole.
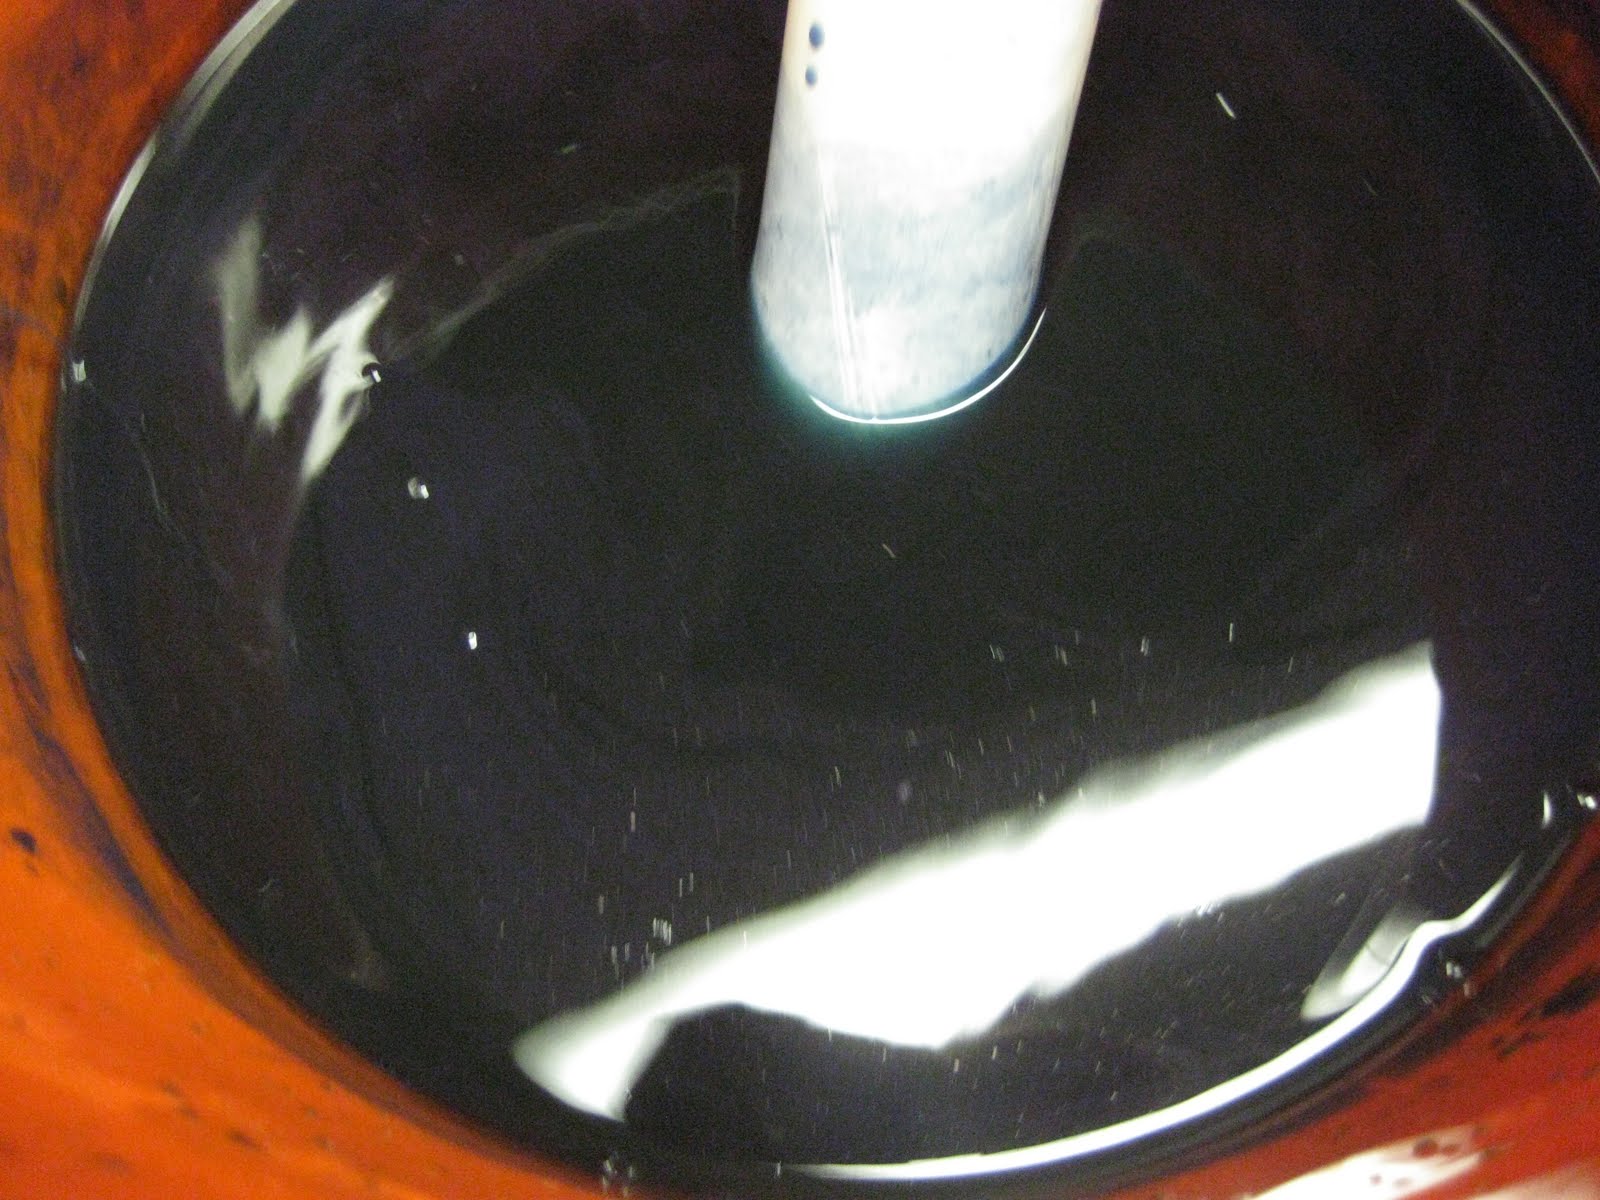
 16. Fading away -
 the indigo did not penetrate to the inner layers
of the wide fabric wrapped around a skinny pole.
I like it anyway.
of the wide fabric wrapped around a skinny pole.
I like it anyway.
Elin also does not like to use tape for securing the fabric to the pole, as it may lead to adhesive residue build-up. (She might like to try drafting tape, which has a higher quality adhesive meant to minimize residue.) Rather, she ties the thread to the pole, then wraps the thread around the fabric. After wrapping three to four inches, she cinches the fabric down to the end of the pole. Additional variation can be introduced by twisting the fabric as you bunch it down.
 17. Elin has wrapped a single layer of fabric around her pole, tied thread to the pole and is wrapping the thread around the fabric.
 18. Wedging the pipe between the table edge and her abdomen,
 Elin pushes the thread-wrapped fabric down to the end of the pipe.
Elin recommends using lengths of pipe no longer than 30-36". This allows the average height dyer to use the table edge and her body as a vise while scrunching the fabric down to the edge of the pipe.
 19. Elin twists the fabrics while bunching it.
 20. Fabric is wrapped and scrunched. Thread is tied off.
When the length of fabric is thread-wrapped and pushed down to the end of the pole, Elin makes a big knotted loop of thread and uses that loop as a second thread end, allowing her to tie off the thread with another secure square knot. The fabric is soaked thoroughly in clear water, and then is ready for the dye vat.

(Sorry about the blurred face - no flash means slow shutter speed.)
 22. Students hard at work, preparing and dyeing poles.
 23. Up to our elbows in indigo.
24. Left, fan-folding fabric.
Center, clamping using chopsticks and rubber bands.
Right, my fabric, made by folding and clamping with jar lids and C-clamps.
In addition to pole wrapping, another relatively quick way to make pattern on fabric is by clamping. The dye penetrates the edges, but not the area under pressure from the clamp. Elin showed us her technique for fan folding, which is to work on the edge of a table and manipulate the folded portion of the fabric, not the trailing end of the fabric. Much easier. After fan-folding, she folded the fabric in fourths, like the letter M (see photo above) and clamped the bundle with chopsticks and rubber bands. Simple, but effective.
One last technique we learned was how to make a sort of small butterfly motif, but I didn't have time to make and dye one, unfortunately. Will have to try in another class!
A note on photography. I do not use flash, because I think it's rude to subject people to flash photography in a classroom setting. In addition, most of my fellow students, and I, are women of a certain age, and recovery from flash glare is slower for us. I don't want anyone knocking over a dye bath because she was momentarily blinded by glare from my camera. So, I rely only on available light, with the accompanying slow shutter speeds. Not ideal, but the goal is images that provide a helpful visual record of the process.